
Shooting a Doorstep Interview Handheld: A Practical Step-by-Step Guide
Marcus Whitlock
6 minutes to read
Marcus Whitlock walks through a handheld doorstep interview from arrival to last cutaway: where to stand, how to set exposure and audio quickly, and what to grab before the subject leaves.
Before you lift the camera: read the location
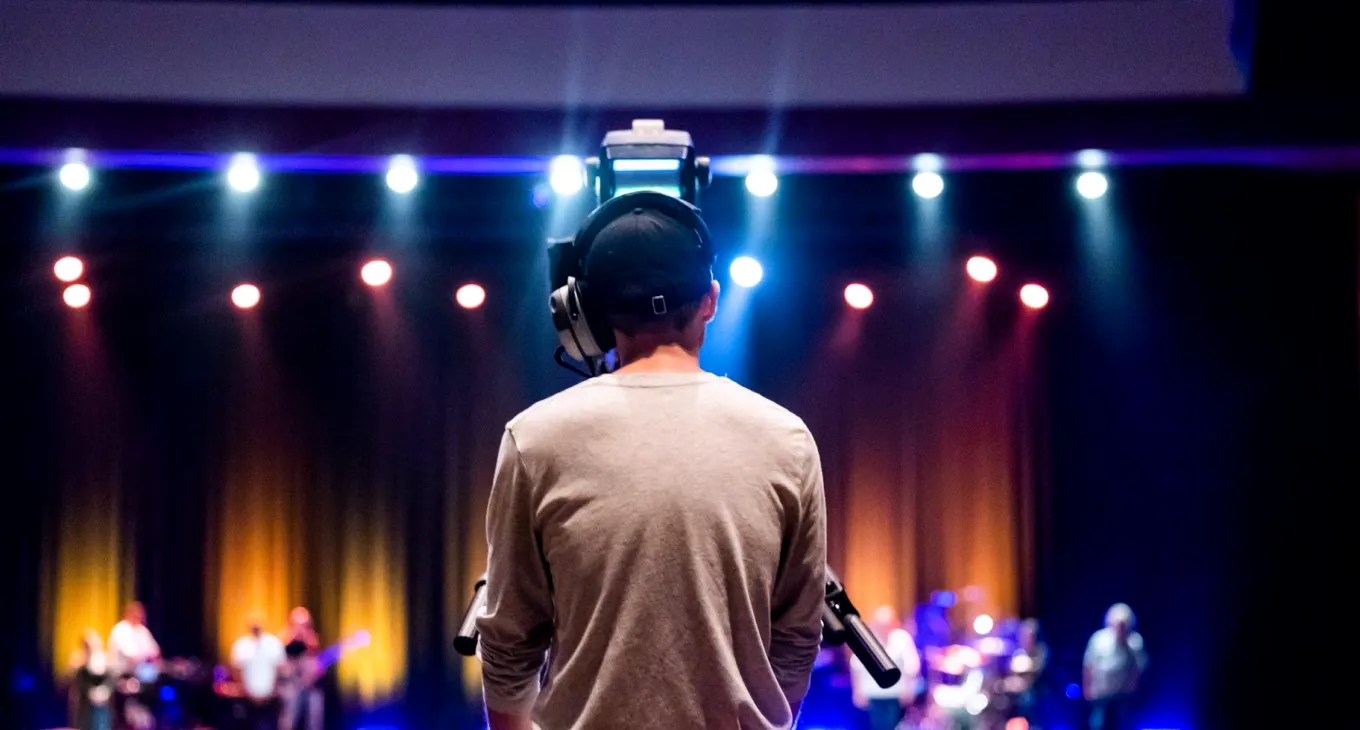
A doorstep interview rarely gives you time to think once the subject appears, so the thinking happens in the first minute after you arrive. Walk the ground before you unpack. Note where the light falls at this time of year, when the autumn sun sits low and changes by the minute. Look for the door, the gate and the pavement, and work out where the person will stand and where you can stand without blocking the way in or out.
I ask trainees to name three things before touching any kit: the direction of the light, the loudest noise nearby, and the cleanest background available. A passing bus, a leaf blower or a busy junction will shape your audio plan more than any microphone choice. If you can hear it clearly while standing still, your recorder will hear it too.
Check your battery and card while you walk, not once you are in position. Those small checks save the awkward moment when a subject steps out and your camera is still booting.
- Light direction and how it will change
- Loudest source of noise
- Cleanest background within reach
- Safe place to stand that leaves a clear exit
Setting exposure fast in changing light
Autumn light is generous but unreliable. Cloud moves, the sun drops behind a roofline, and a face that looked fine a minute ago turns dark. Set your exposure on the face, not on the doorway behind it. If the subject will step from shadow into daylight, expose for the place where they will actually stand and check it by asking a colleague, or yourself, to stand there first.
Lock what you can. Fix your white balance for the dominant light instead of leaving it on auto, because an auto setting will drift as the person moves and the cut will show a colour shift. Keep your shutter speed sensible for moving people, and use the iris and neutral density to control brightness rather than raising gain at the first sign of dimness.
Use zebras or your histogram as a second opinion, not the only one. The monitor lies in bright sun, so learn what a correctly exposed skin tone looks like on your own camera.
Framing the interview so it cuts cleanly
Frame for the edit, not for the moment. A standard interview sits the subject slightly off-centre, with a little space in the direction they are looking, and the eyeline just beside the lens or toward the reporter. Keep the reporter on the side that gives the subject a natural direction to look, and stay consistent so two clips from the same interview match when joined.
Handheld work asks for discipline. Tuck your elbows into your body, keep your knees soft and breathe out slowly as you hold a shot. Hold on a medium close-up and resist the urge to zoom during an answer; a move you make for comfort becomes a distraction for the viewer.
Leave headroom and avoid a pole or sign growing from the subject's head. Take a moment to shift your feet by a pace rather than accepting a bad background because it is quicker.
- Subject slightly off-centre with looking room
- Reporter placed on a consistent side
- Elbows tucked, knees soft, no zooming mid-answer
Capturing clean audio on the spot
Audio decides whether a doorstep piece is usable. A handheld microphone held close to the subject's mouth, below the chin and out of the frame, will beat a camera microphone every time. If you are working alone, a lavalier clipped to a collar is quicker to set up than it looks, but only if you have the person's permission and a few spare seconds.
Always wear headphones and listen to the first answer before you relax. Wind will show itself as a low rumble, so use a windshield and turn the person slightly out of the breeze if you can. Set your levels so the loudest laugh or raised voice does not clip, and leave yourself some headroom rather than chasing a high number.
Record ten seconds of room tone, the ambient sound of the spot, before you leave. Editors use it to smooth cuts, and it costs you almost nothing.
Working with the subject and the reporter
The camera operator sets the tone for how comfortable the subject feels. Greet the person, explain briefly what you are doing and where to look, and then stay quiet while the reporter works. Do not shift position during an answer unless the audio or focus demands it, because movement signals impatience and can end a good response early.
Agree a few small signals with your reporter before you start, such as a nod that means the shot is ready and a hand gesture that means you need the answer repeated. Short, calm exchanges keep the interview moving without breaking the subject's concentration.
If the subject says something remarkable, hold the shot a beat longer than feels natural. The pause after the last word is often where the edit finds its cleanest out point.
- Brief greeting and one clear instruction on where to look
- Agreed signals with the reporter
- Hold the shot a beat after the answer ends
The cutaways you grab before leaving
Do not pack up the moment the interview ends. The editor will need pictures to cover edits and show the place, and the best time to get them is straight away while you are still on location. Shoot the doorway, the house number, the street, the subject's hands and any detail that explains the story, and hold each for at least ten seconds.
Vary your sizes and angles: one wide, one medium, one tight on something specific. A reporter walking toward the door or a two-shot over the shoulder gives the piece a sense of being there. Ask yourself what the viewer needs to see to understand where this is and why it matters.
Finish by checking your clips on the camera and confirming that the interview audio is present on both channels. A thirty-second playback beats discovering a dead track back at the desk.
A good doorstep interview comes from a short routine repeated until it is automatic: read the ground, lock your exposure, frame for the cut, listen to your audio and gather cutaways before you go. None of it needs expensive kit, only attention and practice. Try the routine on a friend at a front gate before you try it on a real story, and ask someone to edit the result so you see where it holds together and where it does not.
Get in touch
- Phone
- 01392 574186
- By email
- hello@obychnyfy.com